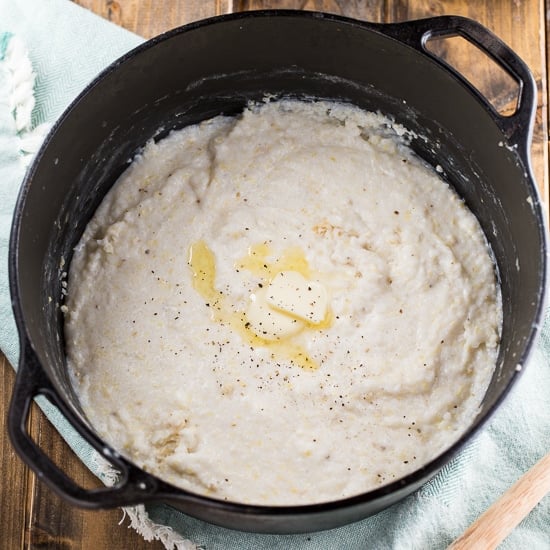
Instant Pot Grits just might be the creamiest, most delicious grits you ever tasted. No more standing over the stove stirring. The pressure cooker does all of the work for you. And no lumps!
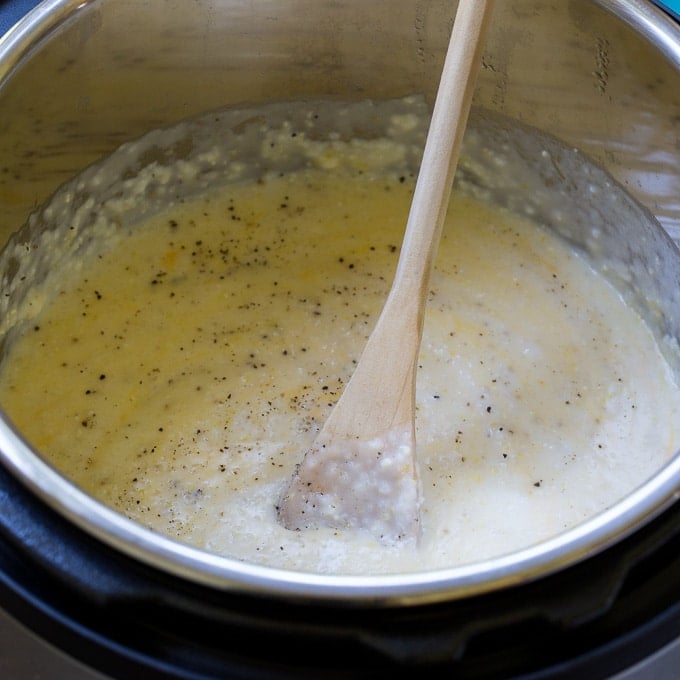
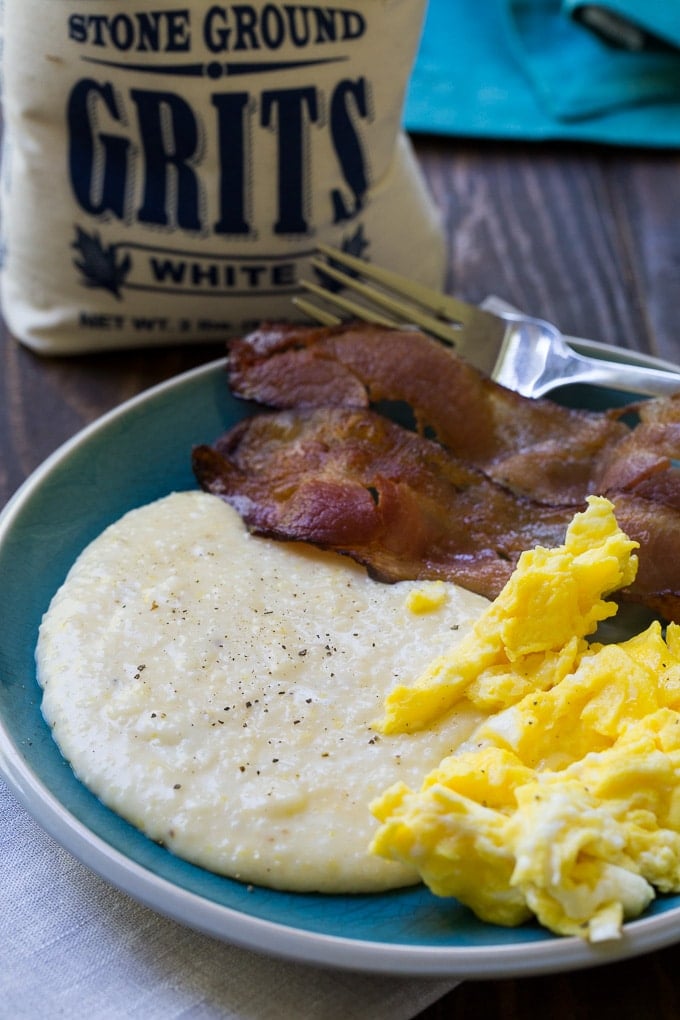
Whether served for breakfast or as a base for Shrimp and Grits, this is the easiest, most delicious way to cook grits. The texture is out of this world.
This Instant Pot Grits recipe uses stone ground grits. They are by far the most flavorful grits but they take the longest to cook. Thankfully the Instant Pot reduces the cooking time.
In order to keep them from sticking to the Instant Pot, you’ll need to saute them first in some bacon grease or oil. Use bacon grease if you have some. It adds wonderful flavor.
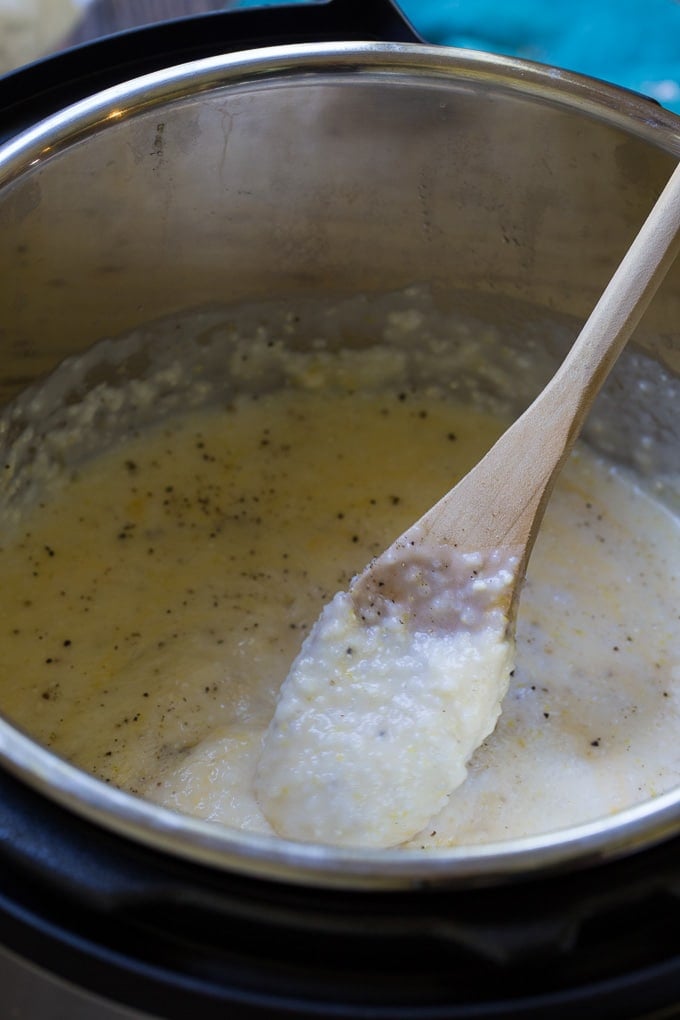
Next, add water, some half-and-half or milk, salt, and butter. Set the Pressure Cooker on HIGH for 10 minutes. Allow the Instant Pot to release pressure naturally for 15 minutes and then release the remaining pressure manually before removing the lid. Stir in a little cheddar cheese and your grits are ready to serve.
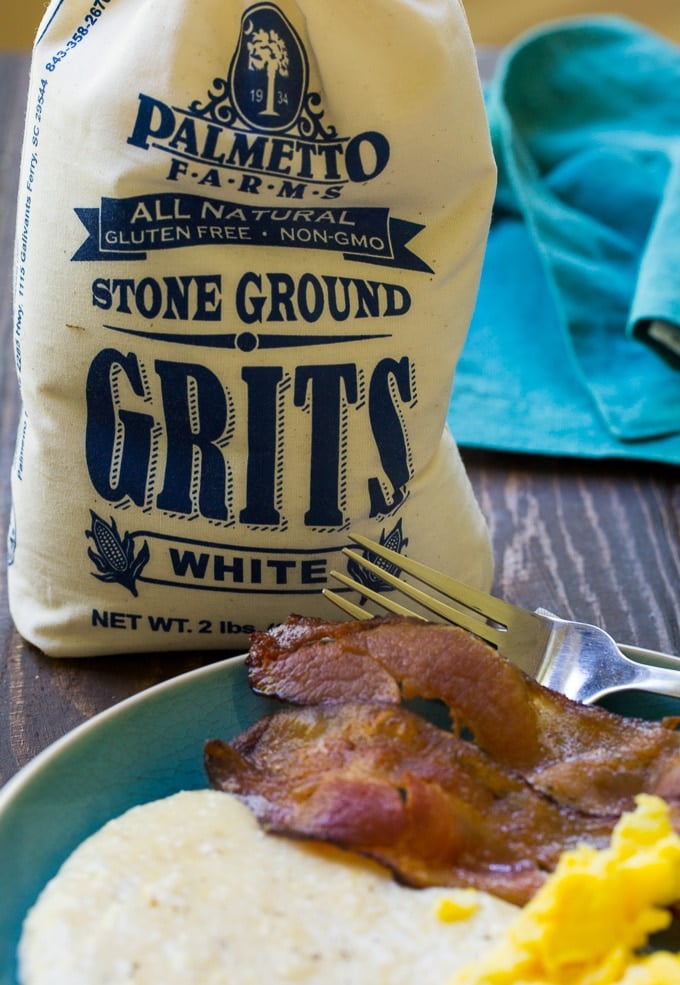
I’m a huge fan of Palmetto Grits which can easily be purchased online.
More Ways to Cook Grits
- Jambalaya Grits
- Pimento Cheese Grits
- Cream Cheese Grits
- Grits Fritters
- Cheesy Grits Casserole with Smoked Sausage
- Crock Pot Grits
Watch the short video below to see how to make Instant Pot Grits.
Instant Pot Grits
Ingredients
- 2 tablespoons bacon grease or vegetable oil
- 1 cup stone ground grits
- 3 cups water
- 1 1/2 cups half-and-half or milk
- 1 1/2 teaspoons salt
- 2 tablespoons butter,, cut into pieces
- 1/2 cup shredded cheddar cheese
Instructions
- Add bacon grease or oil to inner pot of Instant Pot. Turn "Saute" mode on. Once hot, add grits and cook and stir for 2 minutes.
- Add water, half-and-half, salt, and butter. Turn Instant Pot off, place lid on with valve in "sealing" position. Set to Pressure Cook on HIGH for 10 minutes.
- Allow a 15 minute Natural Release and then manually release the remaining pressure. Remove lid and stir in cheese. Stir well. Grits will thicken up some as they cool slightly.
Notes
Nutrition information is automatically calculated, so should only be used as an approximation.
Recipe adapted from: This Old Gal
Disclosure: This post contains affiliate links.



Mine turned out great! The best I have ever had! I don’t know about all those other comments that did not work well, I don’t know why but mine were perfect and wonderful! Thank you for the recipe!
Unfortunately, this did not work out for me. As other posters have said, this was very soupy. Also, even using the times suggested, and sauteeing my grits with some oil, it burned on the bottom. Also, all the grits sunk to the bottom, liquid rose to the top, and I had big lumps of gluey grits with thin, watery/milky grits floating on top. With a LOT of stirring, it was more or less an acceptable texture. I just wasn’t too satisfied with the burned parts, although I did manage to avoid scraping most of that into my mixture. All that being said, the flavor was good. I just wouldn’t use this recipe again as the times and ratios don’t seem to be correct.
Mine were very soupy after 10 min cook and 15 min hold; but I noticed about 30 min later after breakfast when cleaning out IP the texture was PERFECT! I think you have to give grits a LONG sitting time to absorb all moisture.
I guess this recipe would work if you wanted to drink your grits. Followed exactly on time and proportions and had to put the instapot back on sauté for 30 minutes to even be able to eat with a soup spoon. I’ve been cooking stone ground grits for longer than I would like to admit. The liquid ratio seemed off, but I generally follow a new recipe exactly. For something as simple as this, I wasted time and ingredients.
Forgot to rate this recipe! Awesome should be an option!
Hi! I love this Recipe! Awesome! I only had one complaint from one family member. He said they were too “rich.” I think I could use whole milk instead of half and half but I don’t want to. I love it! However I have the same problem with the “Burn Food” Message coming on. How do I stop that?
I used a less water to grits ratio, non-stock spray and used the “keep warm” function instead of “sautée” to finish them up. If grits are too thick, you can always add a little (VERY HOT) water if your grits are too thick at the end.
I made this recently and it was great. Yes, it turns out soupy but it does thicken up. I also used an immersion blender to stir up the chunks that stuck to the bottom. I did make some changes the second time around. I used ghee for browning the grits (had no bacon grease or vegetable oil) and even finished it off with more ghee and a whole cup of cheese (cut back to 1/2 tsp of initial salt). I added salt, pepper, and sriracha for taste and they’re perfect. I’m going to be using them tomorrow for a brunch idea I had in my head! The ghee helps make the grits rich and the immersion blender didn’t take away from the texture (use the lowest setting).
This turned out great. However, I set it on porridge and got a burn message after it pressurized. I just left it alone. until the time was up. There was no burning, but it was sticking a little. Next time, I might gently whisk it after adding the grits until they’re suspended in the liquid. Then put the lid on.
I love this recipe. It does allow me to make stone ground grits in a fraction of the time. However, I do have to cut the amount of liquid by 1/2 a cup. When I do this it comes out great. I have doubled the recipe in my Instapot and it works wonderfully. Thank you for sharing!
My family and I LOVED this recipe. The grits turned out perfectly done, creamy, and so excellently seasoned that they didn’t even need the cheese. I used 4Tbs margarine instead of an oil and margarine mixture. WONDERFUL!
Made these today with stone ground grits and followed the recipe exactly. Not only were the grits incredibly soupy, but the bottom was burned and they were undercooked.
After looking around at some other recipes for stovetop stone ground grits it looks like this recipe uses more liquid than most despite the instant pot not losing as much volume through evaporation like you would on the stovetop.
I think the technique will work—I’ll just try another recipe next time.